Connecting and playing back from a computer (USB-DAC)
You can enjoy high-quality audio playback from the D/A converter built in to this unit by inputting music files into this unit from a computer via USB connection.
Before USB connecting this unit to your computer, install the driver software in your computer.
Drivers do not need to be installed for Mac OS.
Also, you can use whichever commercially available or downloadable player software you like to playback files on your computer.
Computer (recommended system)
OS
Windows® Vista, Windows 7 or Windows 8/8.1
Mac OS X 10.6.3 or later
USB
USB 2.0: USB High speed/USB Audio Class Ver.2.0
Installing the dedicated driver(Windows OS only)
Disconnect the USB cable between your PC and the unit.
The driver software cannot be installed correctly if your PC is connected to the unit by a USB cable.
If the unit and your computer are connected by a USB cable and the computer is switched on before installation, disconnect the USB and restart the computer.
Download the dedicated driver from the “Download” section of the HD-DAC1 page of the Marantz website onto your PC.
Unzip the downloaded file, select the 32-bit or 64-bit exe file that matches your Windows operating system, and double-click the file.
Install the driver.
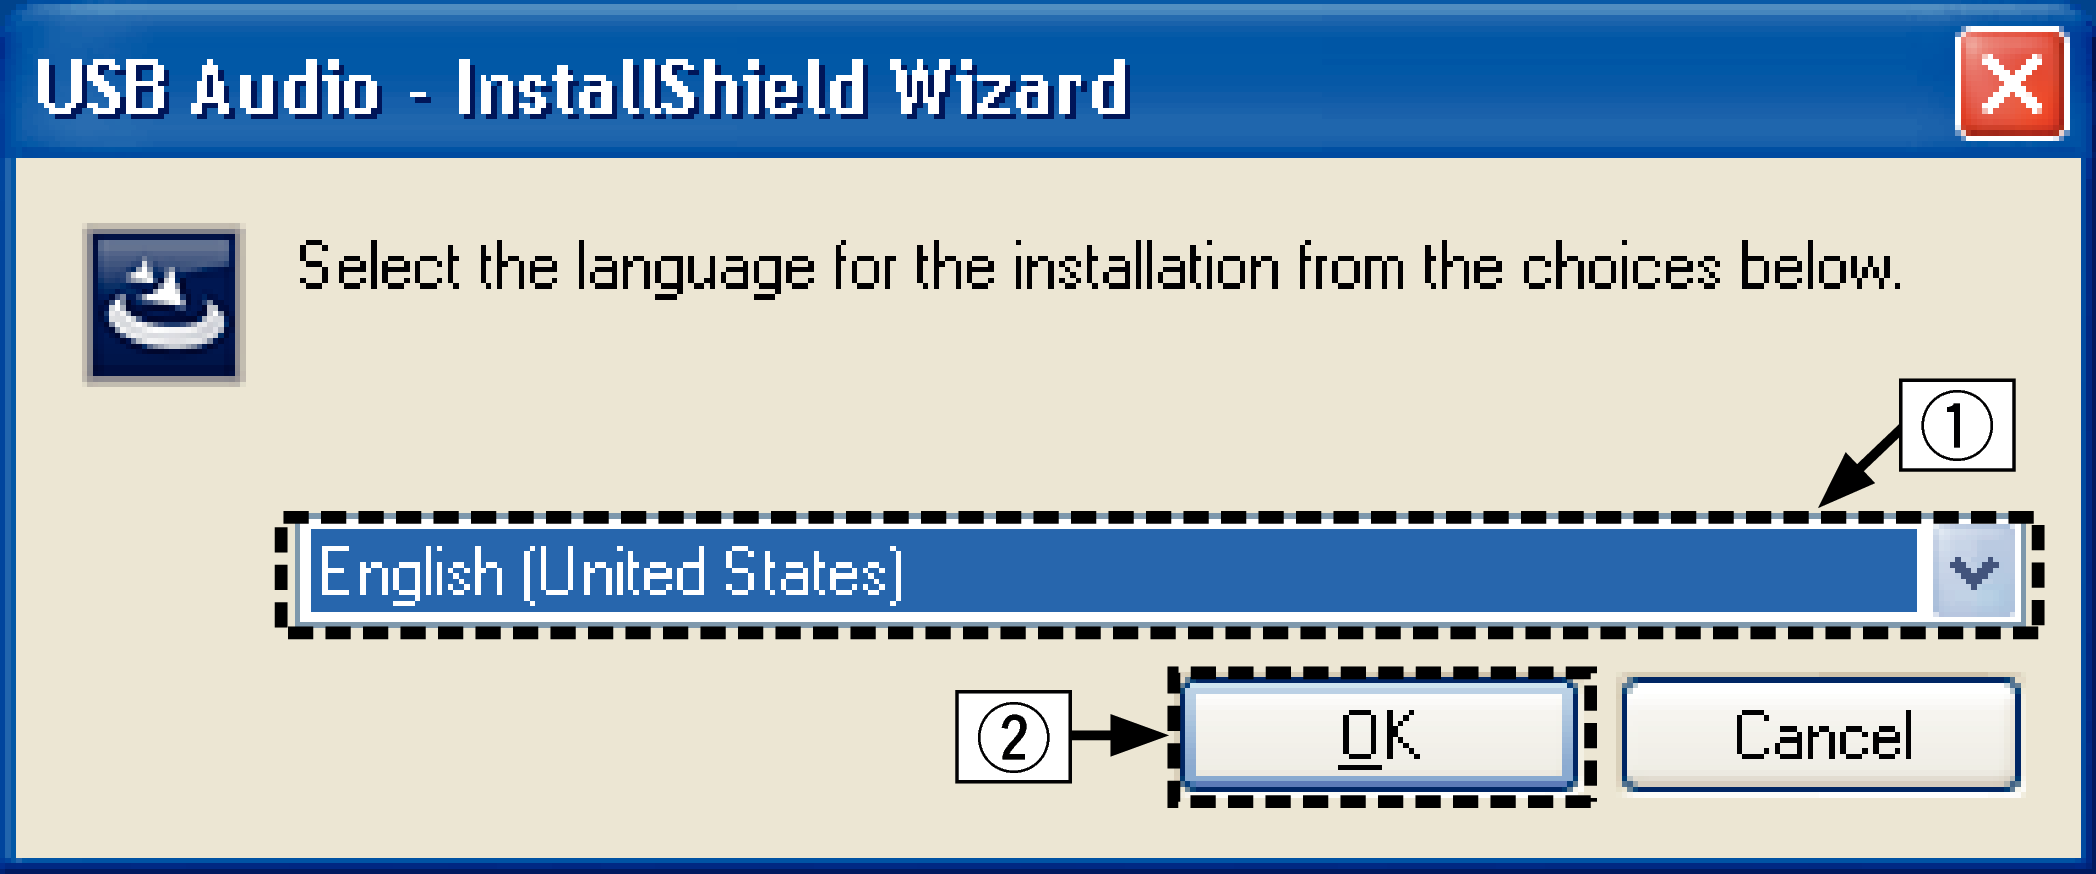
Select the language to use for the installation.
Click “OK”.
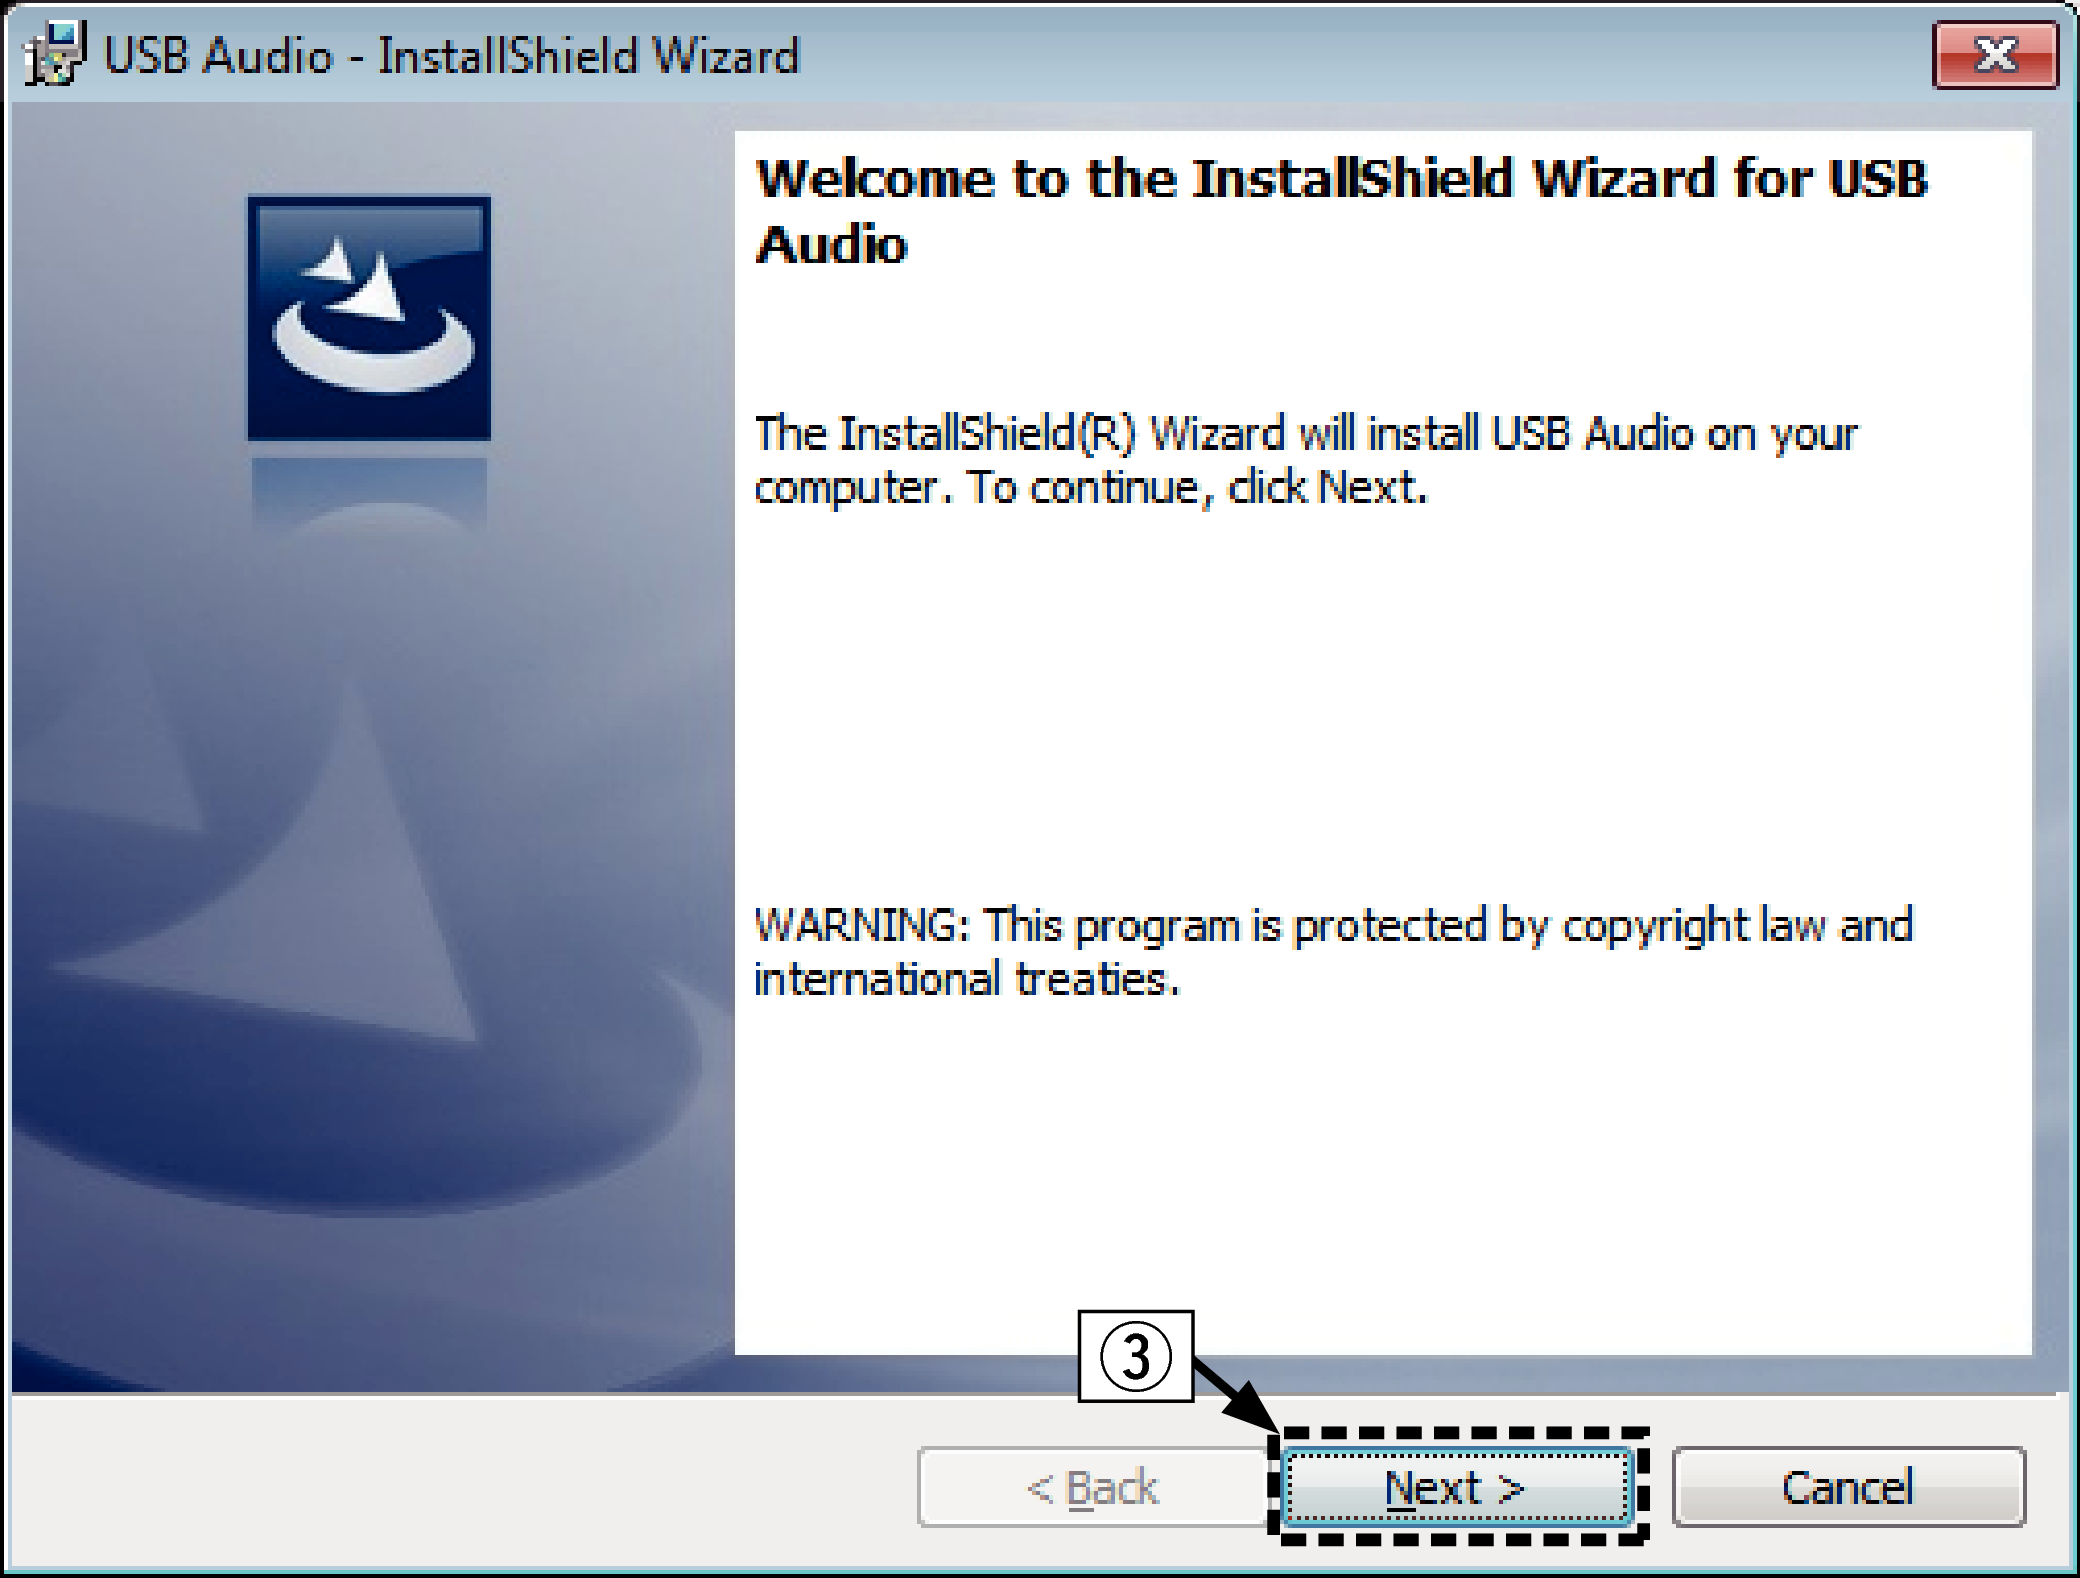
The wizard menu is displayed. Click “Next”.
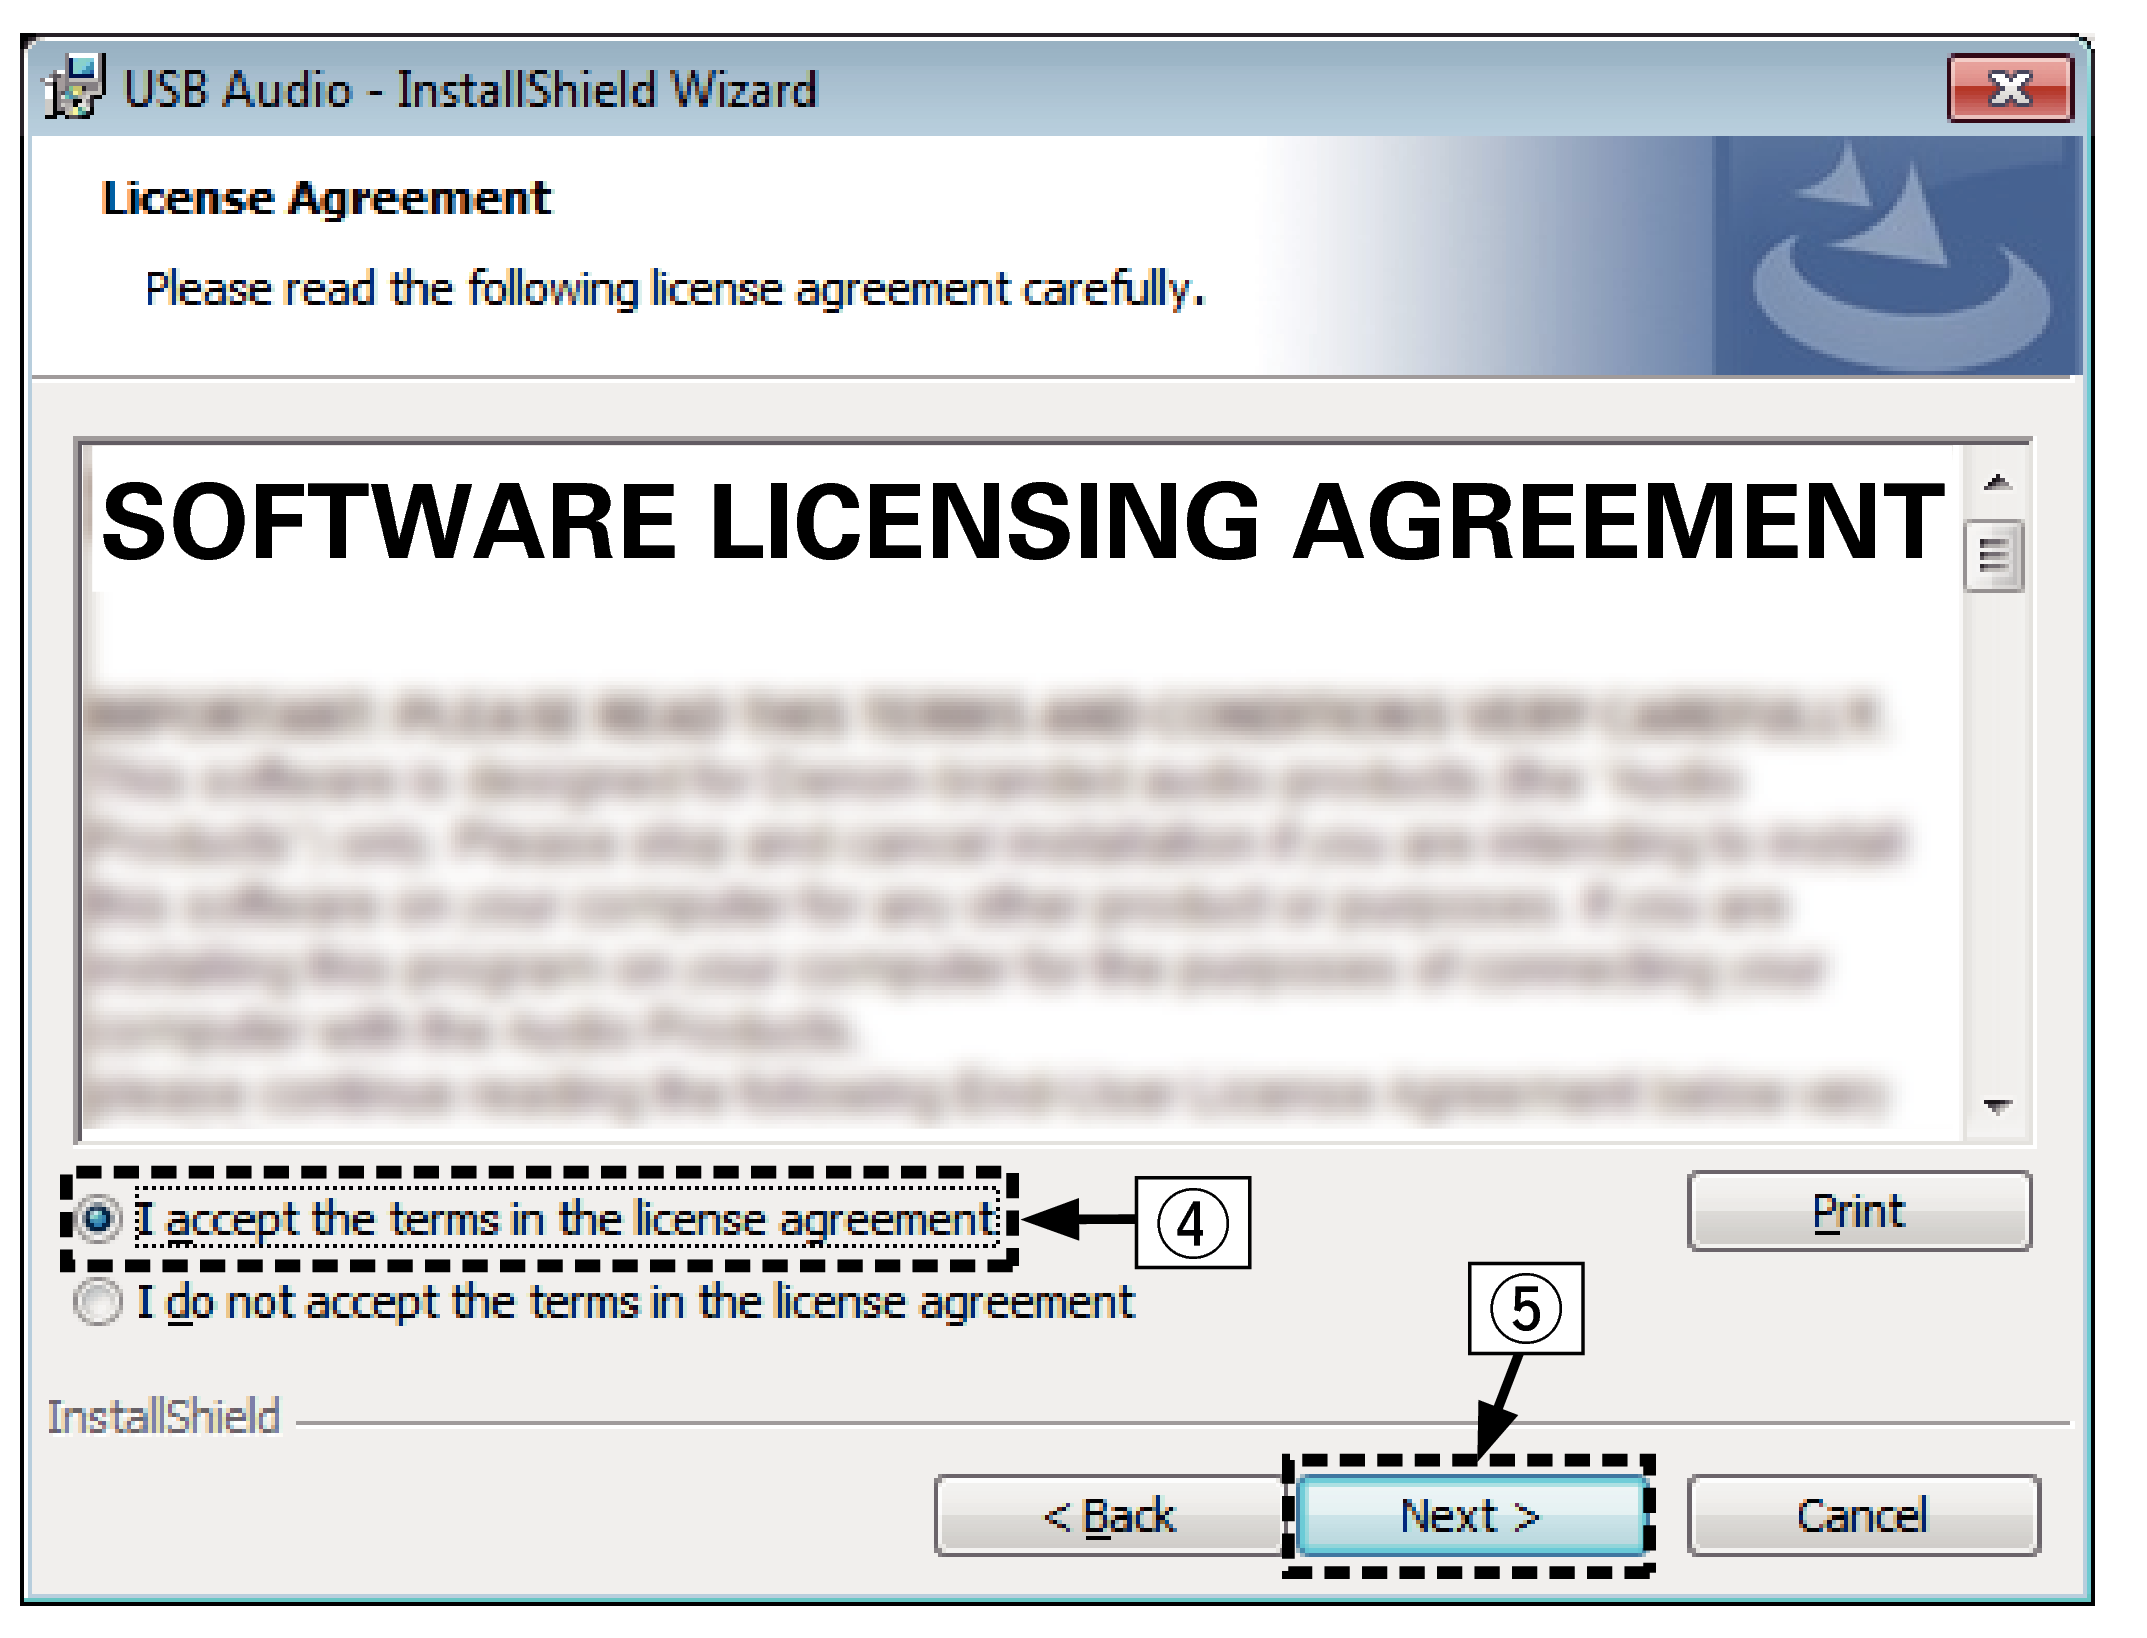
Read the Software Licensing Agreement, and click “I accept the terms in the license agreement”.
Click “Next”.
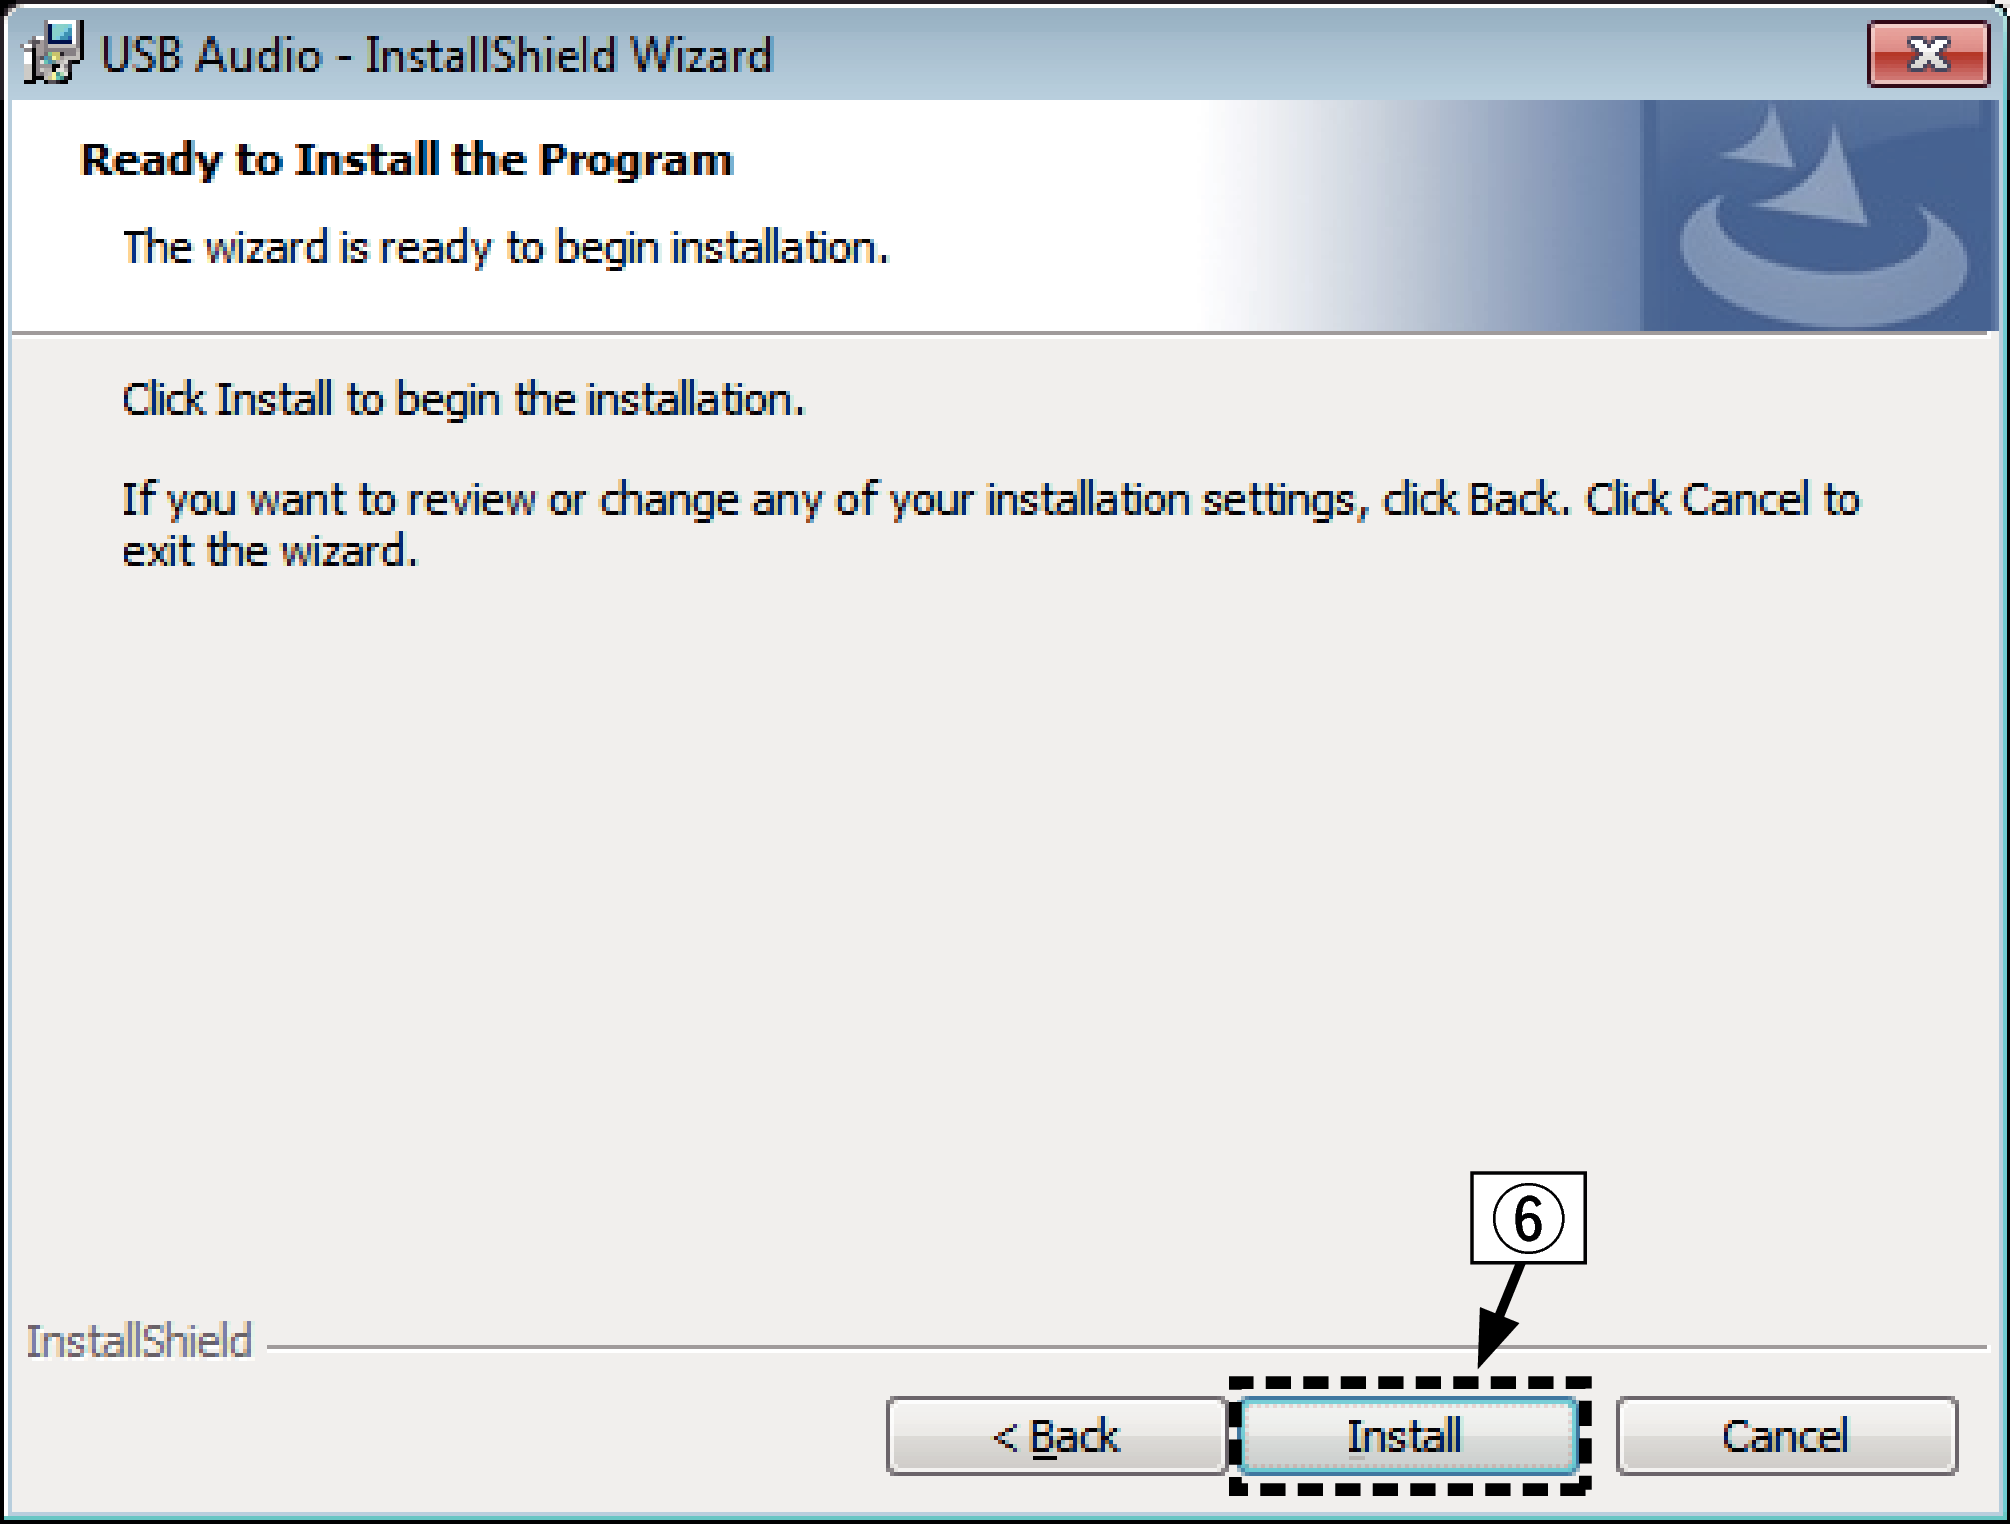
Click “Install” on the installation start dialog.
The installation starts. Do not perform any operation on the PC until the installation is completed.
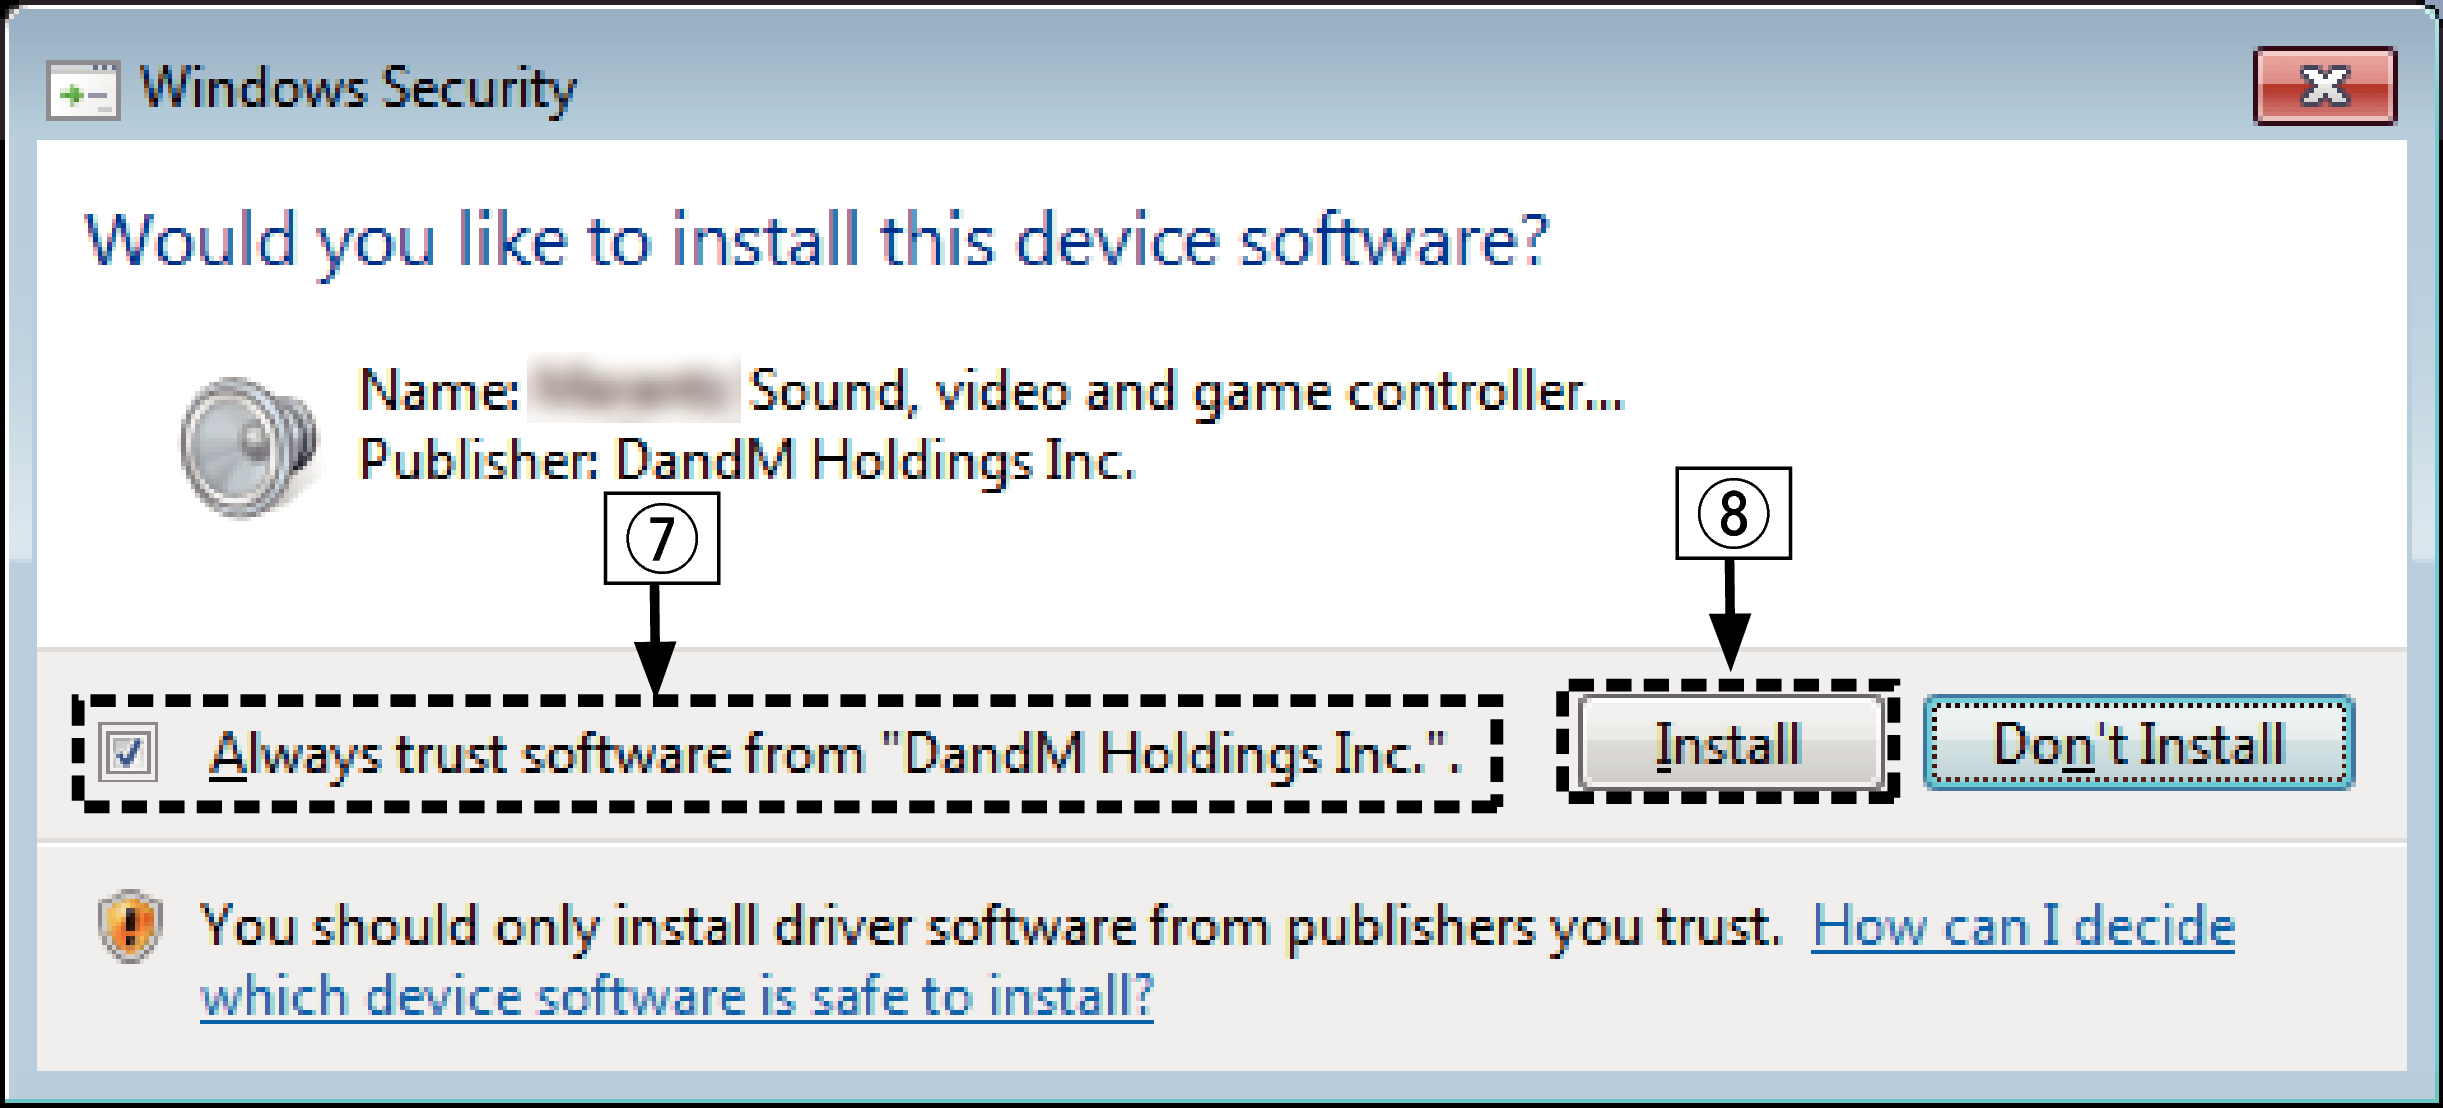
In the Windows security dialog, select “Always trust software from “DandM Holdings Inc.””.
Click “Install”.
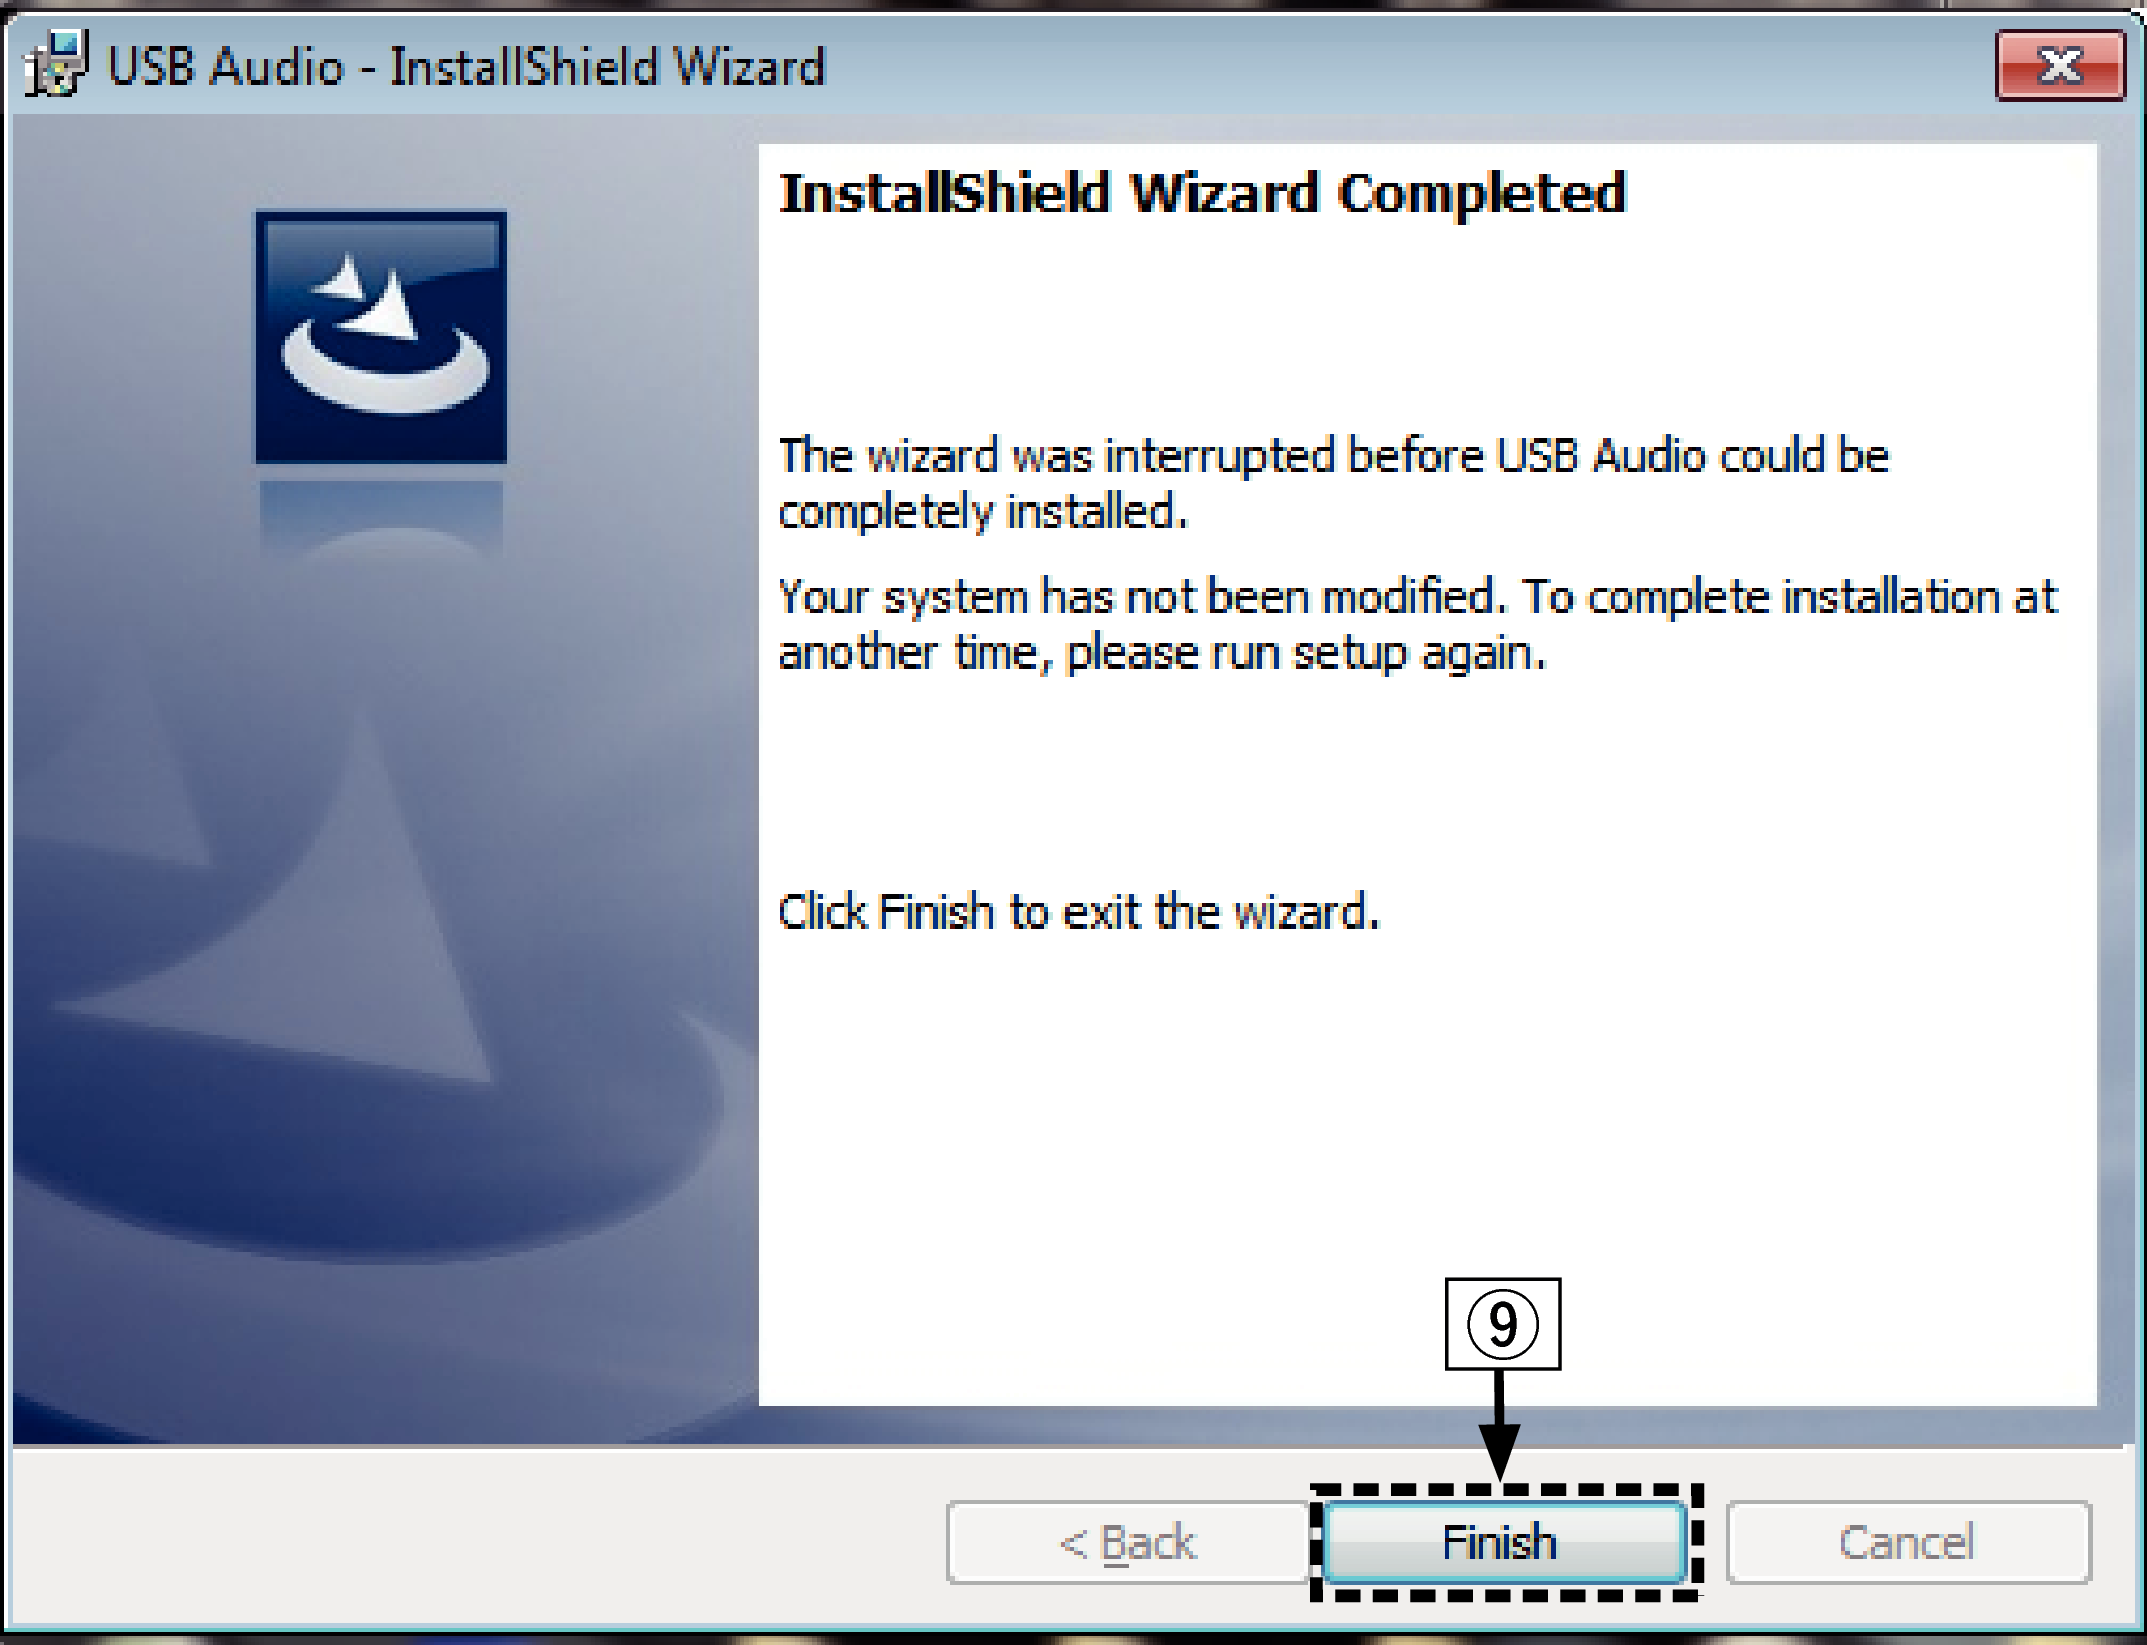
When the installation is completed, click “Finish”.
With the unit power off, connect the unit and PC using a USB cable (supplied).
For the connection procedure, refer to the “Connecting a PC or Mac” link section.
Press POWER  .
.
.When the unit power is turned on, the PC automatically finds and connects to the unit.
Press the input source select button (USB-DAC) to switch the input source to “USB-DAC”.
Checking the installed driver.
Click the “Start” button and click “Control Panel” on the PC.
The control panel setting list is displayed.
Click the “Sound” icon.
The sound menu window is displayed.
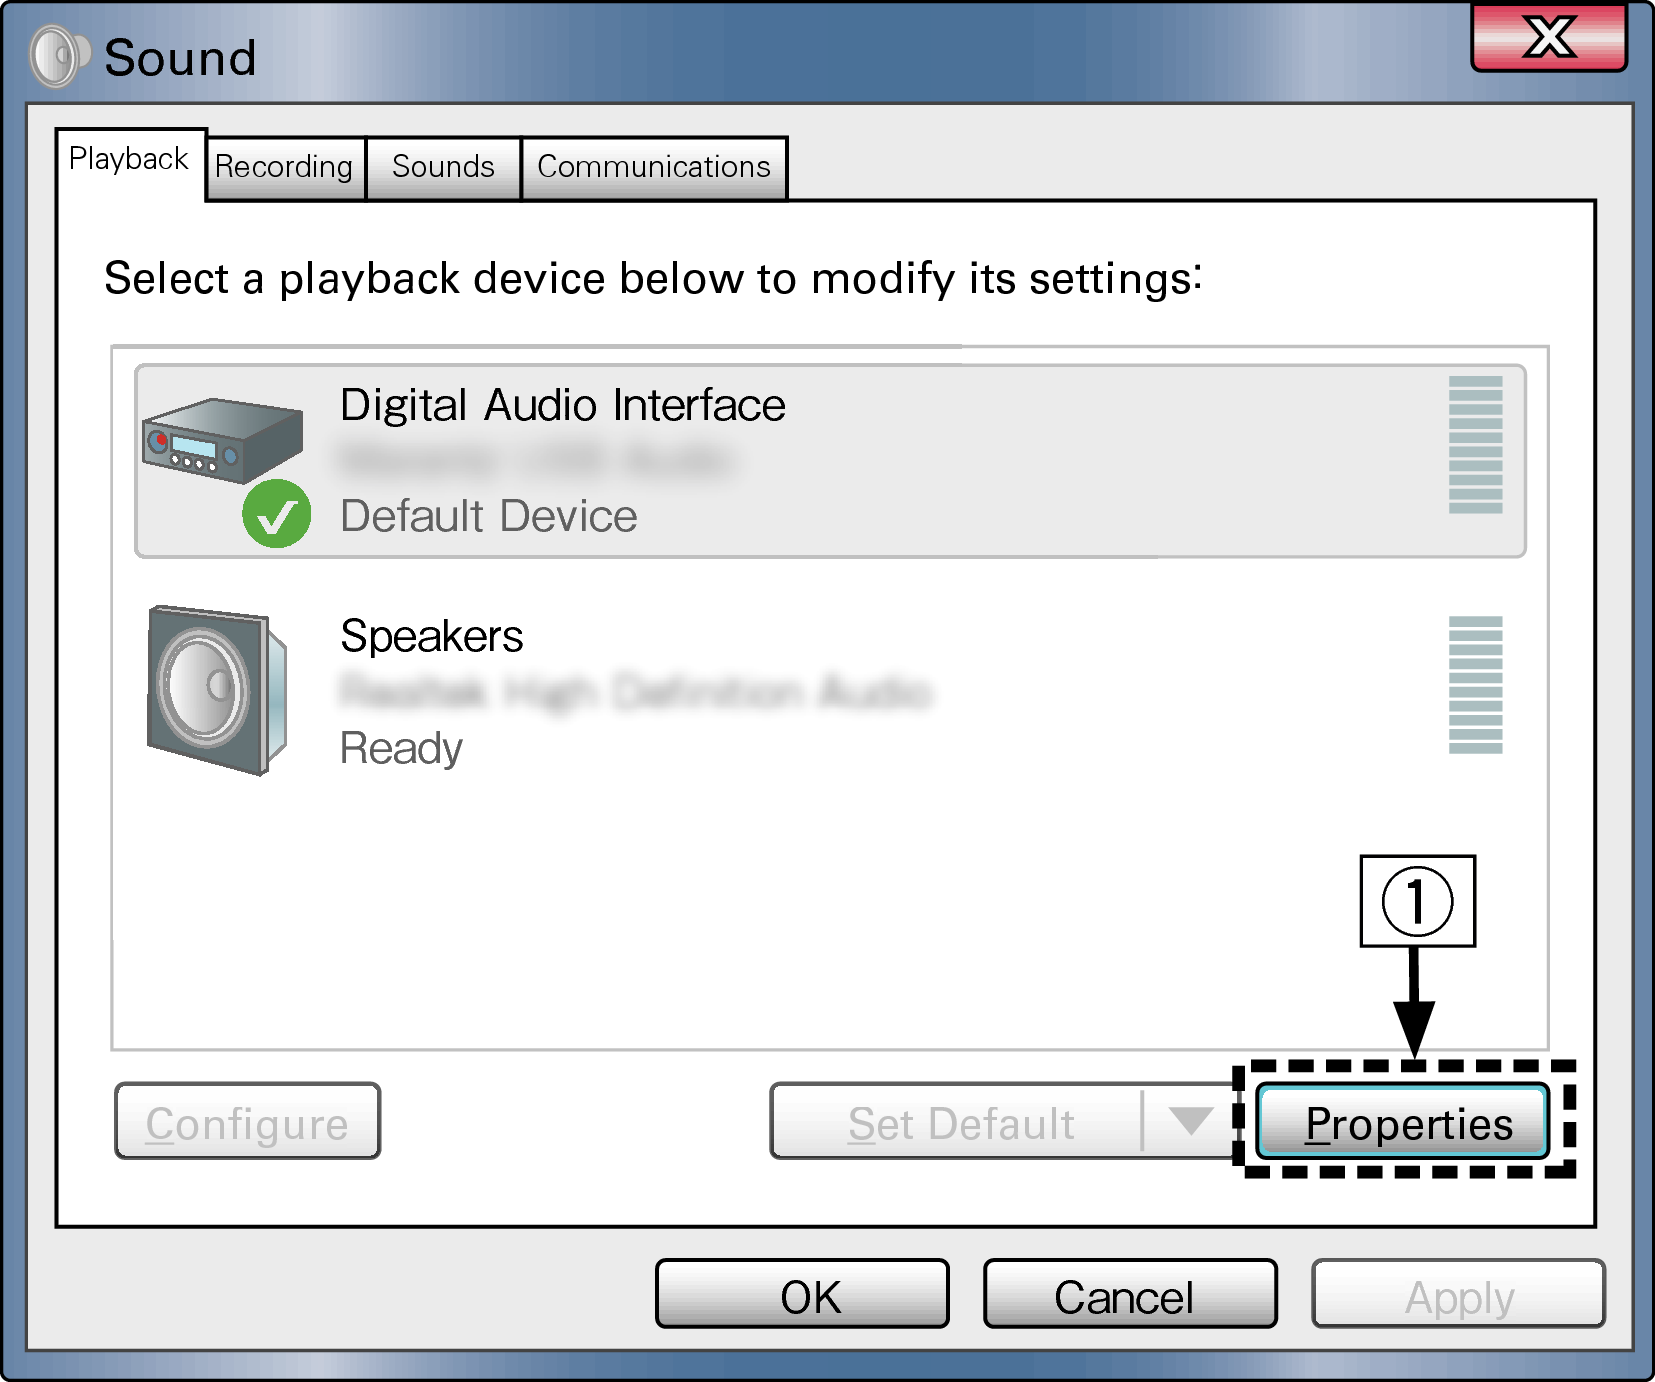
Check that there is a checkmark next to “Default Device” under in “Digital Audio Interface” of the “Playback” tab.
When there is a checkmark for a different device, click “Marantz USB Audio” and “Set Default”.
Checking audio output.
Outputs a TEST signal from the PC and checks the audio output from the USB-DAC function.
Select “Digital Audio Interface” and click “Properties”.
The Digital Audio Interface Properties window is displayed.
Click the “Advanced” tab.
Select the sampling rate and bit rate to be applied to the D/A converter.
It is recommended that “2 channel, 24 bit, 192000 Hz (Studio Quality)” is selected.
Click “Apply”.
Click “Test”.
Check that audio from this unit is output from the PC.

NOTE
The dedicated driver must be installed in the PC before this unit is connected to a PC. Operation will not occur correctly if connected to the PC before the dedicated driver has been installed. Moreover, if the PC is running Windows XP as its OS, the PC’s speed will decrease significantly, and a PC restart may be required.
Operation may fail in some PC hardware and software configurations.
Audio Device Settings (Mac OS X only)
Move the cursor to “Go” on the computer screen, and then click “Utilities”.
The utility list is displayed.
Double-click “Audio MIDI Setup”.
The “Audio Devices” window is displayed.
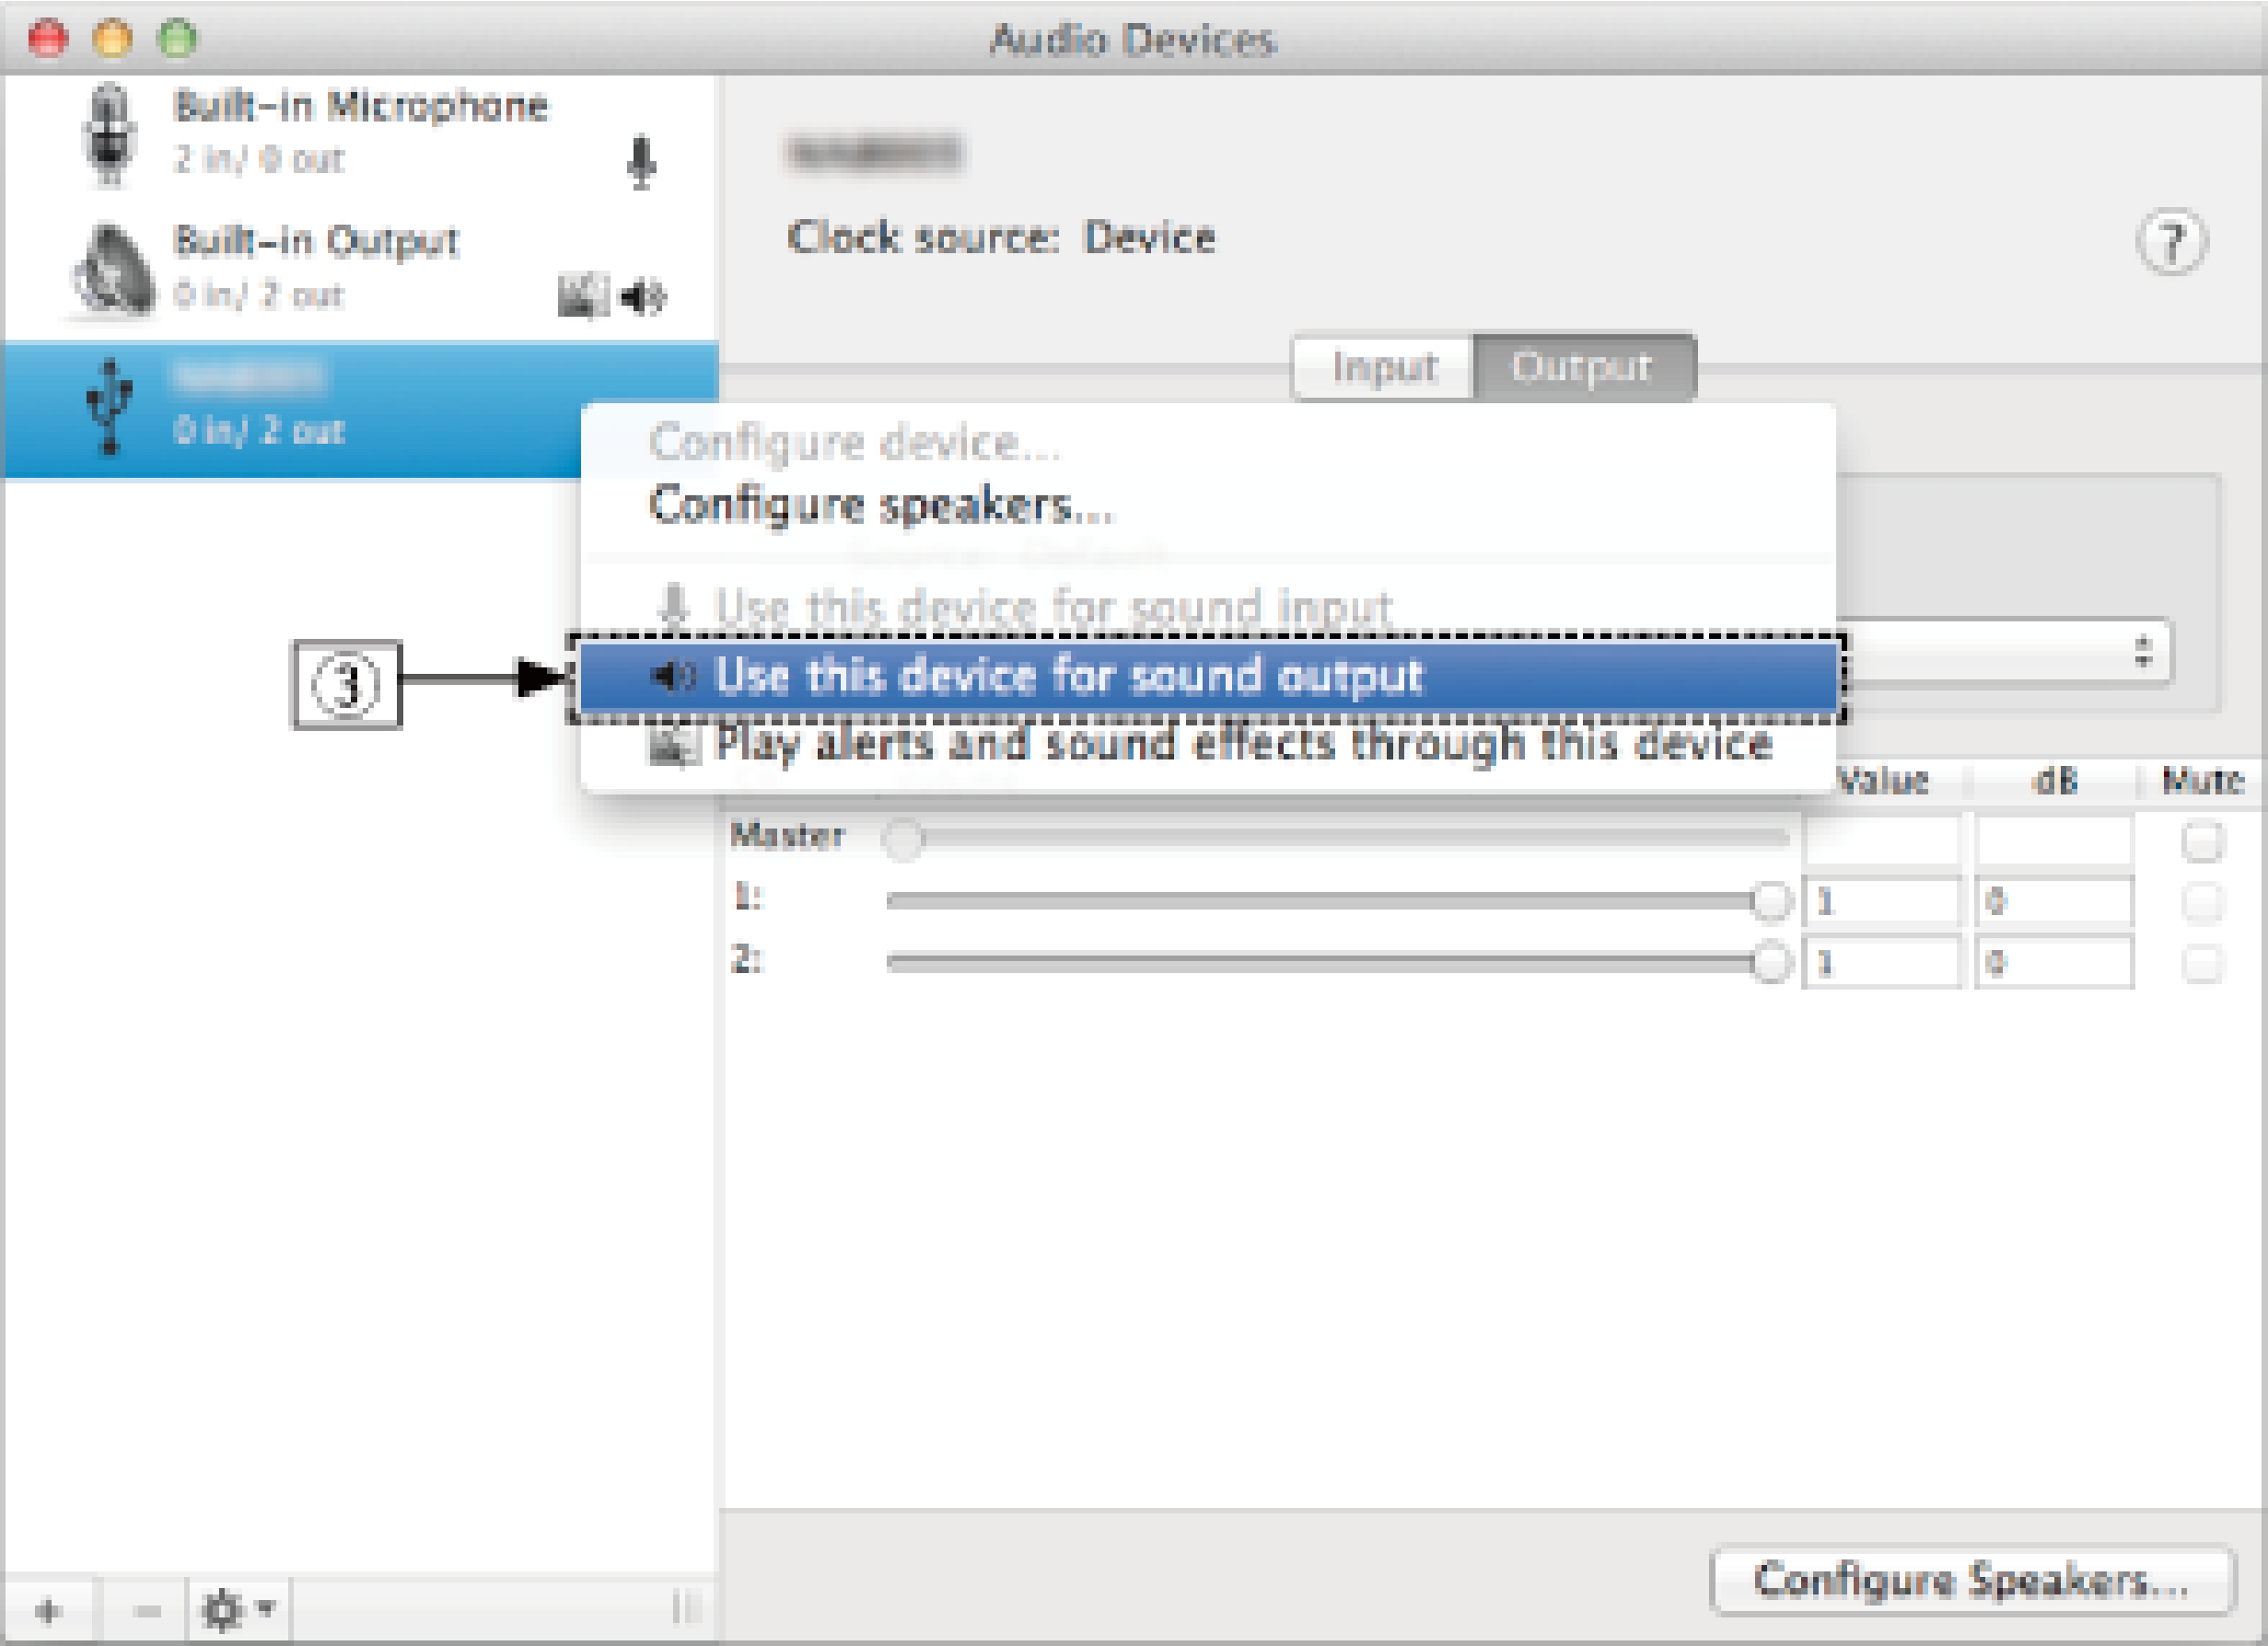
Check that “Use this device for sound output” is checked in “HD-DAC1”.
If a different device is checked, select and “Secondary click” on “HD-DAC1”, and then select “Use this device for sound output”.
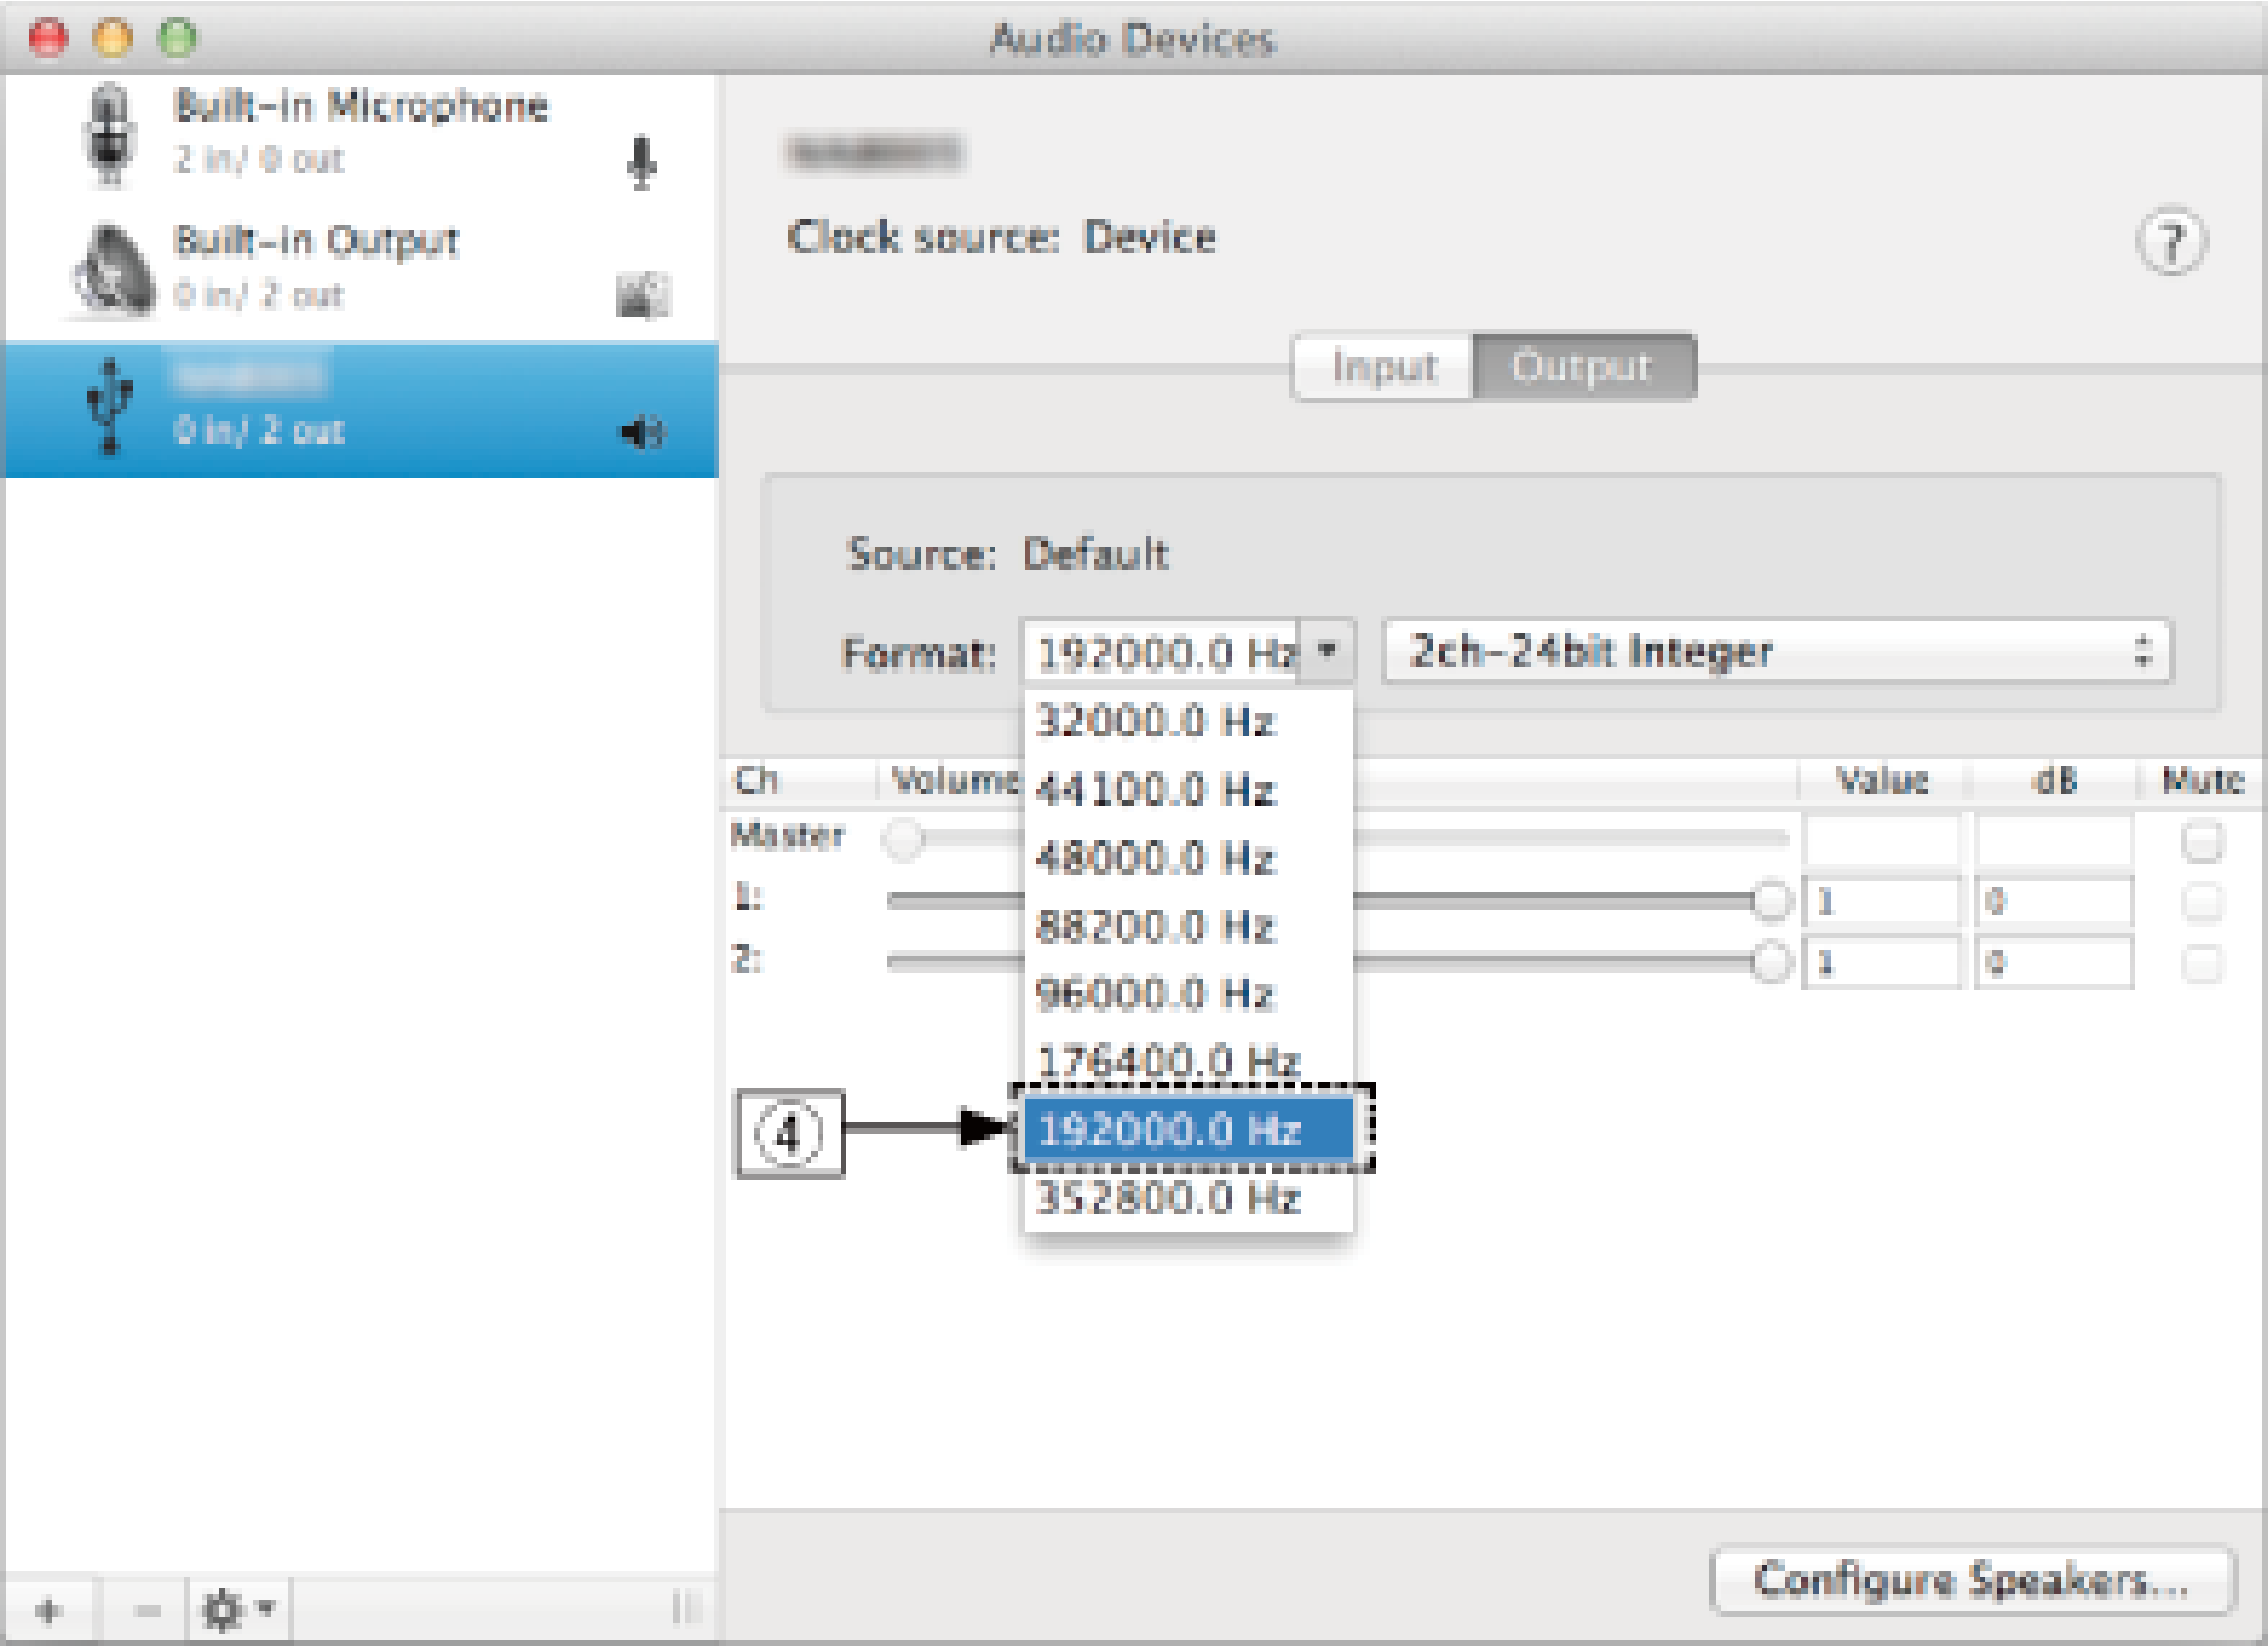
Select the “HD-DAC1” format.
It is normally recommended to set the format to “192000.0 Hz” and “2ch-24 bit Interger”.
Quit Audio MIDI Setup.
Playback
Install the desired player software on your computer beforehand.
Use the rear panel USB-DAC port to connect this unit to a computer. link
Press USB-DAC to switch the input source to “USB-DAC”.
Start playback on the computer’s player software.
The digital audio signal that is being input is shown as follows in the display.
|
“USB-DAC: |
or |
“USB-DAC: |
|
xxxxk” |
DSD xxxM” |
(xxxx is the sampling frequency.)
If the sampling frequency cannot be detected, “Unlocked” will be displayed.
“Unsupported” is displayed when audio signals that are not supported by this unit are input.
Files that can be played back
See D/A converterlink.
NOTE
Perform operations such as playback and pause on the computer. At this time, you cannot perform operations with buttons on this unit or the remote control.
You can also control the volume and equalizer on the computer. Enjoy playing music at the desired volume.
When this unit is functioning as a D/A converter, sound is not output from the computer’s speakers.
If the computer is disconnected from this unit while the computer music playback software is running, the playback software may freeze. Always exit the playback software before disconnecting the computer.
When an error occurs on the computer, disconnect the USB cable and restart the computer.
The sampling frequency of the music playback software and sampling frequency displayed on this unit may differ.
Use a cable that is 3 m or less to connect to the computer.